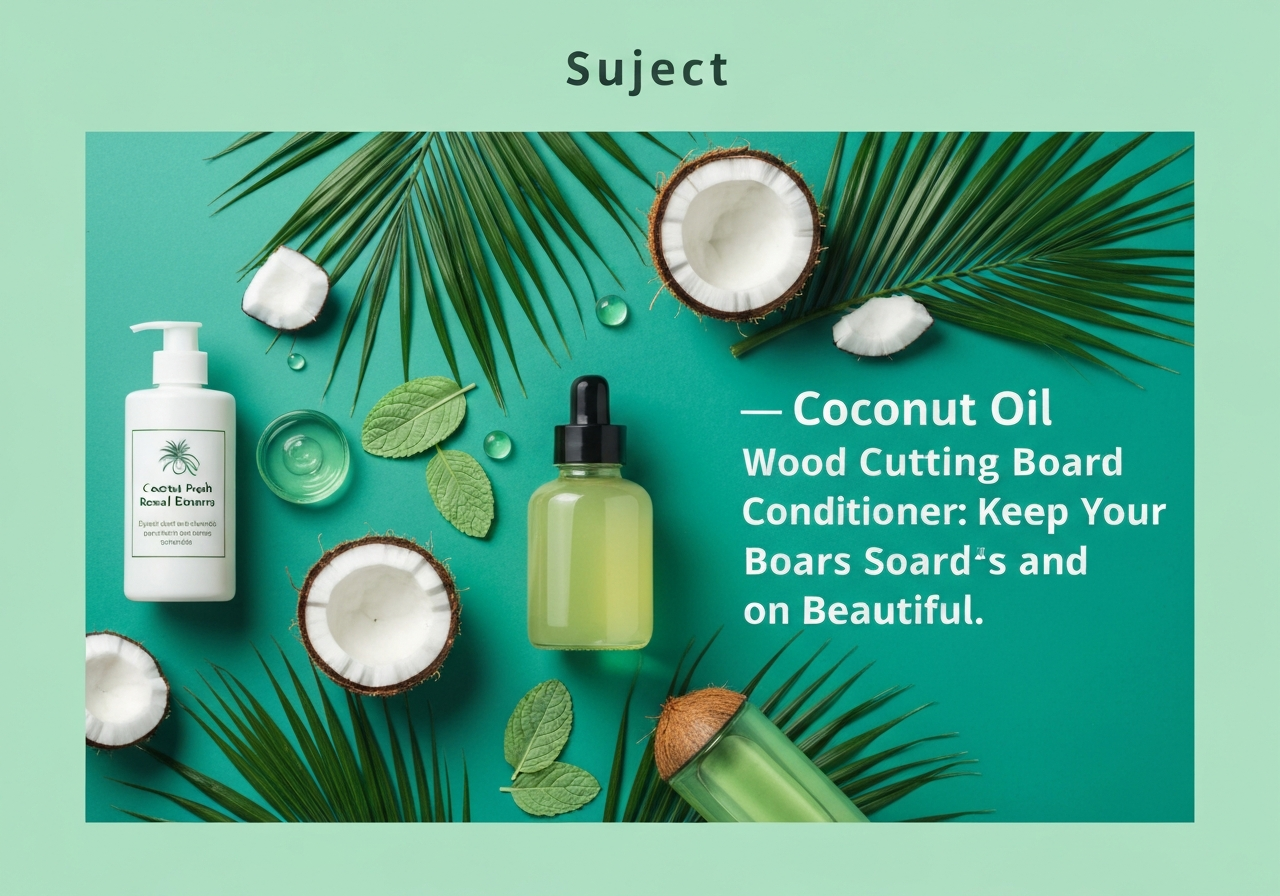
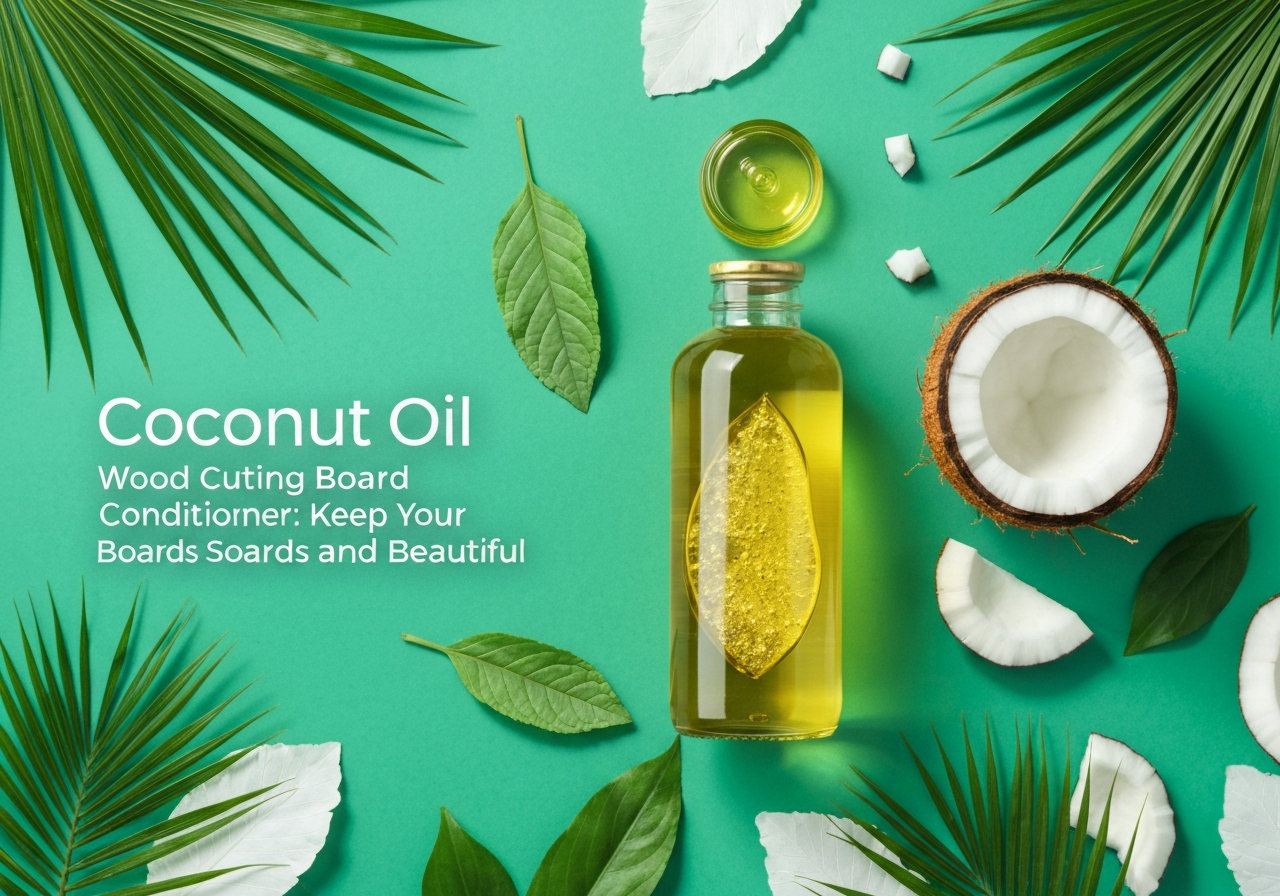
Coconut Oil Wood Cutting Board Conditioner: Keep Your Boards Safe and Beautiful
Your wooden cutting board is the unsung hero of your kitchen, bearing the brunt of countless meal preparations. But like any hardworking tool, it needs proper care to maintain its functionality and appearance. This simple DIY cutting board conditioner harnesses the natural properties of coconut oil to help preserve your wooden boards while keeping them food-safe and beautiful.
Unlike commercial wood finishes that may contain synthetic chemicals, this coconut oil cutting board conditioner uses ingredients you likely already have in your pantry. The result is a nourishing treatment that may help protect your investment in quality wooden cutting boards.
Why Choose Coconut Oil for Wood Conditioning?
Coconut oil has gained popularity as a wood conditioner for several compelling reasons. Its naturally occurring medium-chain fatty acids may help penetrate wood fibers, while its stability at room temperature makes it an excellent choice for kitchen applications. Unlike some oils that can turn rancid quickly, coconut oil's natural composition may help it maintain freshness longer when properly stored.
When creating a coconut oil food safe wood finish, you're choosing an ingredient that's naturally suitable for food contact surfaces. This eliminates concerns about harmful chemicals leaching into your food preparation areas.
Complete Ingredients List
This simple cutting board oil recipe requires just a few high-quality ingredients:
Primary Recipe:
- 1/2 cup virgin coconut oil (unrefined, cold-pressed preferred)
- 2 tablespoons food-grade beeswax pellets or grated beeswax
- 1 teaspoon vitamin E oil (optional, for additional preservation)
Equipment Needed:
- Double boiler or makeshift double boiler (glass bowl over saucepan)
- Wooden spoon or silicone spatula
- Small glass jars or containers for storage
- Fine mesh strainer (if needed)
- Clean lint-free cloth or paper towels
Step-by-Step Instructions
Difficulty Level: Beginner
Prep Time: 5 minutes
Cook Time: 10 minutes
Total Time: 15 minutes (plus cooling time)
Step 1: Prepare Your Workspace
Set up your double boiler by placing a heat-safe glass bowl over a saucepan with about an inch of water. Ensure the bottom of the bowl doesn't touch the water. Gather all ingredients and have your storage containers ready.
Step 2: Melt the Base Ingredients
Add the coconut oil and beeswax to your double boiler setup. Heat on medium-low heat, stirring occasionally with a wooden spoon. The mixture should melt slowly and evenly. This typically takes 5-8 minutes.
Step 3: Incorporate Optional Ingredients
Once the coconut oil and beeswax are completely melted and combined, remove from heat. If using vitamin E oil, stir it in now. The mixture should be smooth and well-blended.
Step 4: Strain and Pour
If desired, strain the mixture through a fine mesh strainer to remove any impurities. Carefully pour the warm mixture into your storage containers, leaving about 1/4 inch of space at the top for expansion.
Step 5: Cool and Set
Allow the conditioner to cool at room temperature for 2-4 hours until it reaches a semi-solid consistency. The mixture will become firmer as it cools but should remain spreadable.
Application Instructions
To use your DIY cutting board conditioner:
- Ensure your cutting board is completely clean and dry
- Apply a small amount of conditioner using a clean cloth or paper towel
- Work the conditioner into the wood grain using circular motions
- Allow to penetrate for 15-20 minutes
- Buff away any excess with a clean, dry cloth
- Let the board air dry for at least 2 hours before use
Safety Warnings and Precautions
Important Safety Guidelines:
- Heat Safety: Always use low to medium-low heat when melting ingredients. Overheating can degrade the coconut oil's beneficial properties.
- Allergy Considerations: If you have coconut or bee product allergies, do not use this recipe. Always test on a small, inconspicuous area first.
- Food Safety: Only use food-grade ingredients and ensure all equipment is clean and sanitized.
- Storage Precautions: Keep away from heat sources and direct sunlight to maintain stability.
- Application Warning: Never apply to wet or damp wood, as this can trap moisture and potentially lead to bacterial growth.
Storage Instructions and Shelf Life
Store your finished conditioner in clean, dry glass containers with tight-fitting lids. Keep in a cool, dry place away from direct sunlight. When properly stored, this conditioner may maintain its quality for 6-12 months.
Signs it's time to replace your conditioner include:
- Off or rancid smell
- Change in color or texture
- Separation that doesn't resolve with stirring
- Mold growth (discard immediately)
Variations and Substitutions
Liquid Version
For a liquid conditioner, reduce beeswax to 1 tablespoon or omit entirely. This creates a more penetrating treatment but with less surface protection.
Enhanced Preservation
Add 1/2 teaspoon of rosemary extract (food-grade) for additional antioxidant properties that may help extend shelf life.
Vegan Alternative
Replace beeswax with carnauba wax or candelilla wax for a plant-based option. Use the same proportions but note that melting temperatures may vary slightly.
Maintenance Schedule
For optimal results, condition your cutting boards:
- New boards: 2-3 times in the first month
- Regular maintenance: Monthly for frequently used boards
- Seasonal deep conditioning: Every 3-4 months for occasional-use boards
- After deep cleaning: Always recondition after sanitizing or deep cleaning
Expanding Your Natural Wood Care
This cutting board conditioner is just one way to incorporate coconut oil into your household maintenance routine. Consider exploring other applications like coconut oil for wood furniture care or discovering more coconut oil household uses throughout your home.
You might also find that coconut oil's conditioning properties extend beyond wood care. Many people report success using similar techniques for coconut oil for leather goods, though always test on inconspicuous areas first.
Final Thoughts
Creating your own coconut oil cutting board conditioner puts you in control of what touches your food preparation surfaces. This simple recipe combines the traditional appeal of natural wood care with modern understanding of food safety. With proper application and regular maintenance, your wooden cutting boards can remain beautiful, functional, and safe for years to come.
Remember that while this conditioner may help maintain your cutting boards, proper cleaning and food safety practices remain essential. Always consult manufacturer guidelines for your specific cutting board material and consider professional advice if you have concerns about food safety or wood preservation.