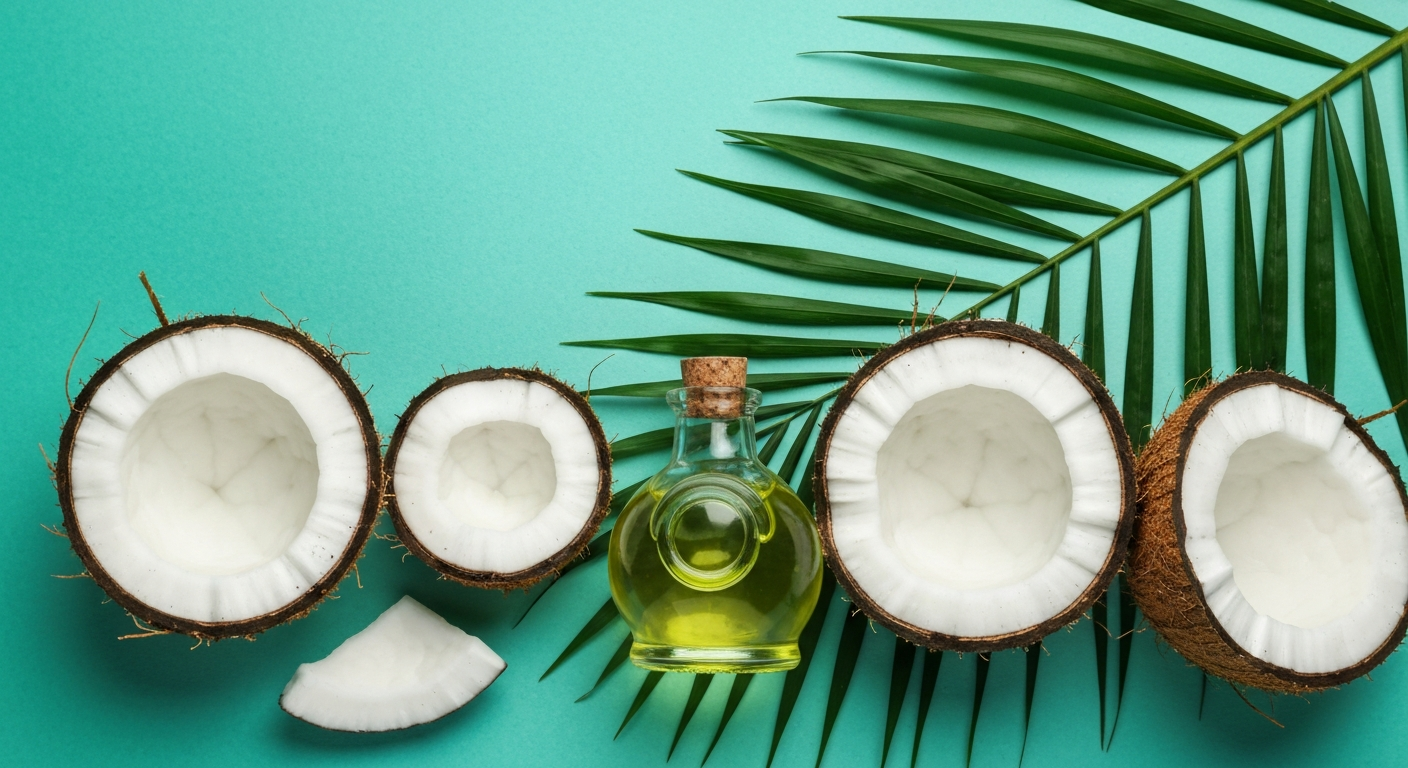
How to Make Coconut Oil at Home: The Complete Step-by-Step Guide
Making coconut oil at home is a rewarding process that connects you directly with this versatile ingredient. While store-bought coconut oil is convenient, creating your own homemade coconut oil gives you complete control over quality, freshness, and processing methods. Whether you're interested in the wet method or dry method, this comprehensive guide will walk you through everything you need to know about how to make coconut oil from scratch.
Why Make Coconut Oil at Home?
Creating your own coconut oil offers several advantages over purchasing commercial products. You'll know exactly what goes into your oil, ensuring no additives, preservatives, or processing chemicals are involved. Fresh coconut oil made at home often has a more pronounced coconut aroma and flavor compared to some commercial varieties. Additionally, making coconut oil from scratch can be more economical, especially if you have access to fresh coconuts at reasonable prices.
Homemade coconut oil also allows you to experiment with different coconuts and processing techniques to achieve your preferred taste and texture profile.
Understanding the Two Main Methods
There are two primary approaches to make coconut oil at home: the wet method and the dry method. The wet method involves extracting coconut milk first, then separating the oil from the milk. The dry method involves processing dried coconut meat (copra) directly. Each method has its benefits and challenges.
The wet method typically produces higher quality oil with better flavor and aroma, while the dry method can yield more oil per coconut but requires additional drying time.
Materials and Equipment Needed
For Both Methods:
- 4-6 mature coconuts (brown, heavy coconuts work best)
- Sharp knife or coconut opener
- Large bowl
- Fine-mesh strainer or cheesecloth
- Clean glass jars for storage
- Blender or food processor
Additional Equipment for Wet Method:
- Large pot for heating
- Wooden spoon
- Refrigerator space
Additional Equipment for Dry Method:
- Dehydrator or oven
- Baking sheets
- Oil press (optional, but helpful)
Method 1: The Wet Method (Recommended for Beginners)
The wet method is often preferred by home enthusiasts because it typically produces higher quality oil and doesn't require specialized equipment like a dehydrator.
Step 1: Crack and Extract the Coconuts
- Hold each coconut firmly and locate the three "eyes" at the top
- Use a sharp knife or coconut opener to crack the coconut in half
- Drain and save the coconut water for drinking (it won't be needed for oil-making)
- Use a spoon or coconut scraper to remove all the white meat from the shell
- Rinse the coconut meat under cool water to remove any shell particles
Step 2: Prepare the Coconut Milk
- Chop the coconut meat into small chunks (about 1-inch pieces)
- Place chunks in your blender with 2 cups of warm water per coconut
- Blend on high speed for 2-3 minutes until the mixture is smooth and creamy
- Strain the mixture through cheesecloth or a fine-mesh strainer into a large bowl
- Squeeze the pulp firmly to extract as much liquid as possible
- You should have rich, thick coconut milk
Step 3: Separate the Oil
There are two approaches for this crucial step:
Heat Method:
- Pour the coconut milk into a heavy-bottomed pot
- Heat over medium-low heat, stirring frequently
- Continue heating for 45-60 minutes until the milk separates
- You'll notice the oil beginning to separate from the water and solids
- Keep stirring to prevent burning
- When you see clear oil and brown bits (coconut solids), it's ready
Cold Method (Fermentation):
- Pour coconut milk into a clear glass jar
- Cover and let sit at room temperature for 24-48 hours
- The oil will naturally separate and float to the top
- Refrigerate for 2-3 hours to solidify the oil layer
- Carefully scoop out the solid oil layer
Step 4: Strain and Store
- Strain the separated oil through a fine-mesh strainer or coffee filter
- This removes any remaining water or solid particles
- Pour the clean oil into sterilized glass jars
- Allow to cool completely before sealing
Method 2: The Dry Method
The dry method involves first drying the coconut meat, then extracting oil from the dried coconut (called copra). This method can yield more oil but requires more time and equipment.
Step 1: Prepare and Dry the Coconut
- Extract coconut meat as described in Method 1
- Grate or chop the coconut meat into small, uniform pieces
- Spread pieces evenly on dehydrator trays or baking sheets
- If using a dehydrator, set to 145°F for 6-8 hours
- If using an oven, set to lowest temperature (usually 170°F) with door slightly open
- Dry until the coconut pieces are completely moisture-free and slightly golden
- Properly dried coconut should be crisp and break easily
Step 2: Extract the Oil
- Place dried coconut in a powerful blender or food processor
- Process for 10-15 minutes, stopping occasionally to scrape sides
- Continue until you see oil beginning to separate from the coconut paste
- The mixture will progress from powder to paste to oily paste
- If you have an oil press, you can use it at this stage for better extraction
Step 3: Strain and Refine
- Transfer the oily paste to a fine-mesh strainer lined with cheesecloth
- Press and squeeze to extract as much oil as possible
- Filter the oil through a coffee filter for clarity
- Store in clean glass containers
Tips for Success
Choosing the Right Coconuts
Select mature coconuts that feel heavy for their size. When you shake them, you should hear liquid sloshing inside. The "eyes" should be firm and not moldy. Fresh coconuts will have white, firm meat that comes away from the shell easily.
Temperature Control
For the wet heat method, maintain medium-low heat to prevent burning. The process should be gradual – rushing with high heat can result in a bitter taste or burned oil.
Sanitation
Keep all equipment scrupulously clean. Sterilize jars and utensils with boiling water before use. This helps prevent contamination and extends the shelf life of your homemade coconut oil.
Common Mistakes to Avoid

- Using old or rancid coconuts: Always start with fresh, quality coconuts for the best results
- Overheating during extraction: High temperatures can destroy beneficial compounds and create off-flavors
- Insufficient straining: Leftover water or particles can cause your oil to spoil quickly
- Storing while still warm: Allow oil to cool completely before sealing to prevent condensation
- Using dirty equipment: Contamination is the fastest way to ruin a batch of homemade oil
What to Expect from Your Homemade Coconut Oil
Properly made coconut oil should be clear when liquid and white when solid. Fresh homemade coconut oil typically has a pleasant, mild coconut aroma and taste. The oil should be smooth without any grittiness or particles.
From 4-6 coconuts, you can expect to yield approximately 1-2 cups of oil, depending on the size and oil content of your coconuts and which method you use.
Storage and Shelf Life
Store your homemade coconut oil in clean, airtight glass containers away from direct sunlight. Properly made and stored coconut oil can last 1-2 years at room temperature. The oil will naturally solidify below 76°F and liquefy above this temperature – this is completely normal.
Signs that your oil may have spoiled include an off or rancid smell, unusual color changes, or the presence of mold. When in doubt, it's better to make a fresh batch.
Uses for Your Homemade Coconut Oil
Your fresh coconut oil can be used in cooking, baking, and various household applications. Many people enjoy using homemade coconut oil in their kitchen for sautéing vegetables, baking goods, or adding to smoothies. The oil can also be incorporated into homemade soaps, lotions, and other craft projects.
Remember that while coconut oil has many traditional uses, it's always wise to consult with qualified healthcare providers before using any natural product for health-related purposes.
Troubleshooting Common Issues
Oil Won't Separate
If using the heat method and oil isn't separating after an hour, try increasing heat slightly and stirring more frequently. Make sure you started with thick, rich coconut milk.
Cloudy or Grainy Oil
This usually indicates insufficient straining or the presence of water. Re-strain through a finer filter and ensure all water has been removed.
Low Oil Yield
This can result from using coconuts with lower oil content or incomplete extraction. Try processing coconut meat more thoroughly or consider the dry method for better extraction.
Final Thoughts
Learning how to make coconut oil at home is a valuable skill that connects you with traditional food preparation methods. While it requires time and patience, the process can be deeply satisfying and may provide you with a superior product compared to some commercial alternatives.
Start with the wet method if you're new to making coconut oil, as it's generally more forgiving and requires less specialized equipment. As you gain experience, you might want to experiment with the dry method or try variations in processing to achieve your preferred oil characteristics.
Remember that practice makes perfect – your first batch might not be perfect, but each attempt will teach you something new about the process. With time and experience, you'll develop your own techniques and preferences for creating the ideal homemade coconut oil.